Email Marketing for Shopify Food Brands: A Beginner’s Guide
If you run a food or beverage brand on Shopify, email can feel intimidating: What should you send, how often, and how do you avoid spamming people? Don’t worry—this guide is designed for beginners. We’ll focus on simple steps that produce quick wins for consumables (coffee, snacks, drinks), keep you compliant, and help you measure real revenue—not just opens.
Why email is worth your time (especially for food and beverage)
- It’s an owned channel: you control the audience and margins.
- Food is replenishable: people run out. Email is perfect for timely reorders and helpful tips.
- It compounds: each automation you add continues to work in the background.
For list growth ideas that put value first (not just discounts), see Shopify’s practical guidance in the Shopify build an email list guide (2025).
Pick one easy platform to start
You don’t need to master everything at once. Beginners typically choose one of two routes:
- Shopify Email: Built in, straightforward for basic campaigns and automations. Good if you want to learn the fundamentals with minimal setup.
- Klaviyo: Popular with DTC brands for deeper automation and segmentation. Slightly steeper learning curve, but robust for growth.
Tip: Whichever you choose, use your brand domain for sending (not @gmail.com). We’ll cover deliverability setup shortly.
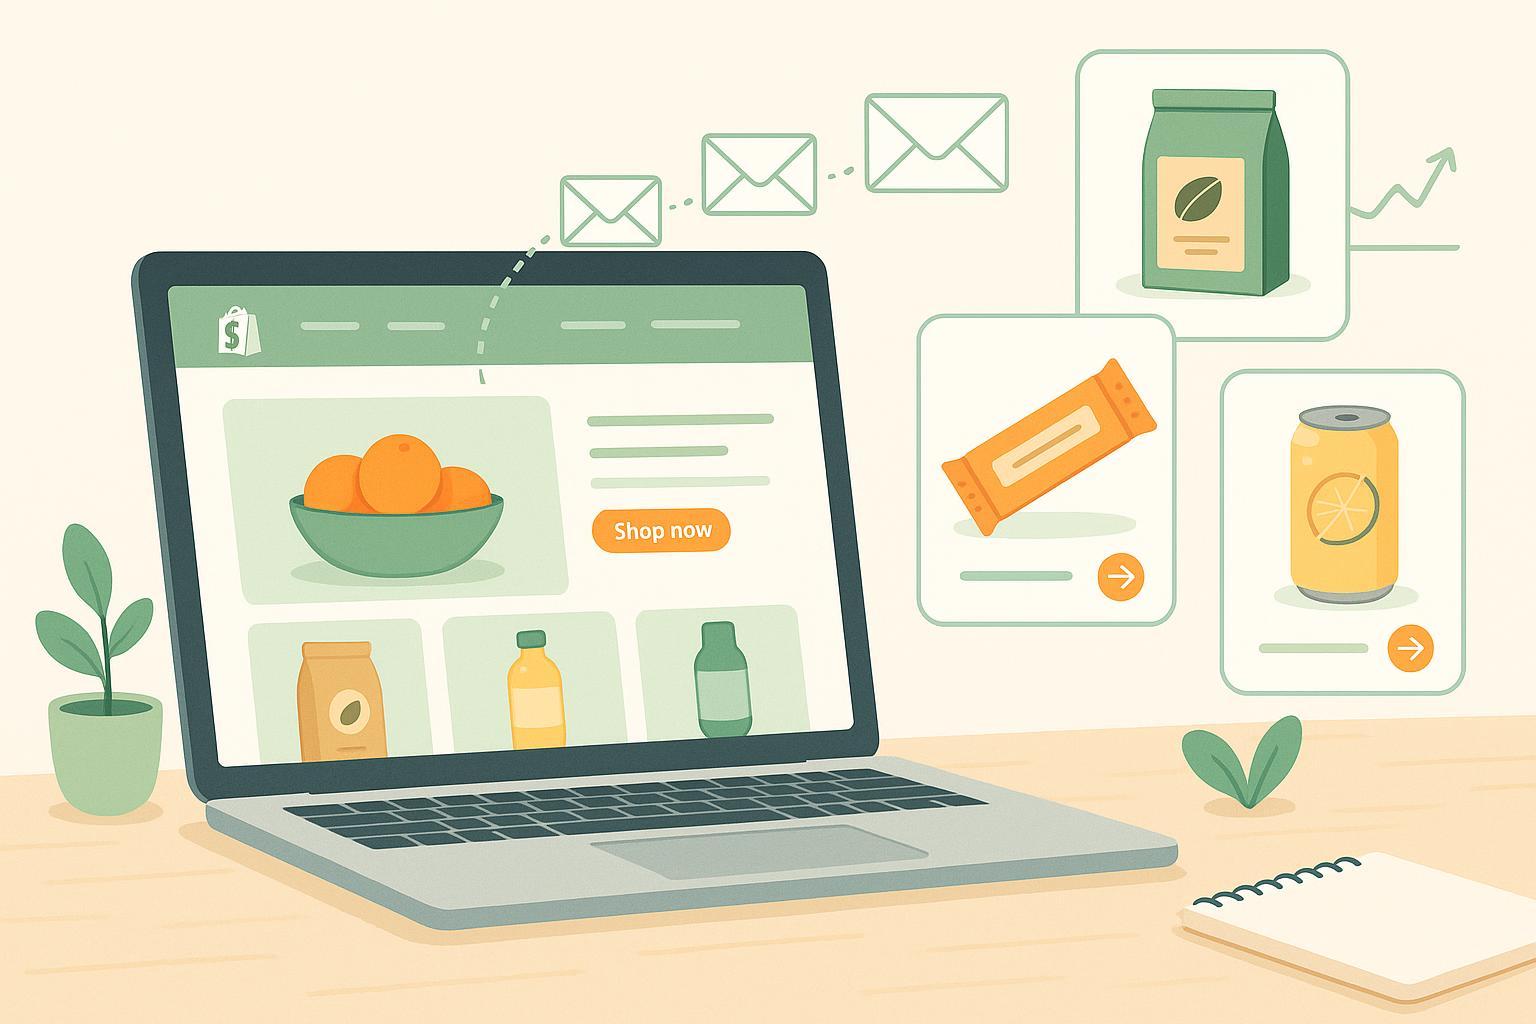
Your first quick wins: 5 essential flows for food brands
Start with these automations. You can create versions of all five in Shopify Email or Klaviyo.
- Welcome series (new subscribers)
- Purpose: Convert first purchases and set expectations.
- What to include: Your best‑sellers, a small incentive, brand story, and how often you’ll email.
- Timing: 2–3 emails over the first 7 days.
- Abandoned checkout/cart
- Purpose: Recover revenue left in carts.
- What to include: The items left behind, clear CTA, and a gentle reminder tone.
- Timing: First reminder at 2–4 hours; a second at 24 hours if needed.
- Post‑purchase
- Purpose: Turn buyers into fans and repeat customers.
- What to include: Order confirmation; storage/serving tips; recipes; allergen/ingredient transparency; invite to review or loyalty program; option to subscribe & save.
- Timing: Transactional email immediately; educational content after delivery window.
- Replenishment (consumables)
- Purpose: Nudge timely reorders.
- What to include: Friendly reminder, easy “reorder” button, relevant add‑ons.
- Timing starters (adjust from your data):
- Coffee: 2–4 weeks per bag.
- Sparkling beverages: 1–3 weeks per case.
- Pantry snacks: 2–3 weeks depending on pack size/household.
- Re‑engagement (sunset)
- Purpose: Reduce spam complaints and costs by targeting inactive subscribers.
- What to include: A simple “still want to hear from us?” with frequency options or content preferences. If no engagement, suppress.
Pro tip: Build these in order. Don’t move on until each flow has clear copy, mobile‑friendly design, and an obvious call to action.
Grow a healthy, compliant list (without annoying people)
- Offer a fair value exchange: new product drops, recipes, and occasional offers beat perpetual 20%‑off popups.
- Use double opt‑in: think of it like confirming your RSVP—it prevents typos and accidental signups, improving list quality.
- Mind popup frequency: cap re‑shows and avoid interrupting every page.
- Set expectations: tell people how often you’ll email and what they’ll get.
For a beginner‑friendly overview of list growth tactics, the Shopify build an email list guide (2025) has practical examples you can adapt.
Personalization basics that actually matter
- Segment by lifecycle: new subscriber vs. first‑time buyer vs. repeat buyer.
- Use product context: feature add‑ons that pair well (e.g., filters with coffee; dips with chips).
- Keep it human: one clear message per email is better than a cluttered newsletter.
- Accessibility: use sufficient color contrast, descriptive alt text for images, and large tappable buttons.
Deliverability and legal must‑dos (don’t skip this)
Mailbox providers tightened rules in 2024–2025. The big ideas are simple: authenticate your domain, make unsubscribing effortless, and keep complaint rates low.
Deliverability setup basics
- Authenticate your domain with SPF and DKIM and publish DMARC (p=none minimum) before bulk sending. Google outlined these requirements for bulk senders in the Gmail protections update (2024), and Yahoo reiterates similar expectations in the Yahoo Sender Best Practices (2024).
- Provide a one‑click unsubscribe (List‑Unsubscribe) and honor requests quickly.
- Aim to keep spam complaints comfortably under 0.3%.
Legal essentials (always check your jurisdiction)
- United States: The FTC’s CAN‑SPAM compliance guide explains basics like honest headers, a visible unsubscribe, a physical mailing address, and honoring opt‑outs within 10 business days.
- European Union: The official GDPR portal covers lawful basis (often consent for marketing), disclosure, data subject rights, and easy withdrawal.
Note on “open rates”: Apple Mail Privacy Protection changes how opens are tracked. Apple’s description of Mail Privacy Protection explains that images are preloaded via proxies, which can inflate opens. Treat opens as directional; prioritize clicks, conversions, and revenue per recipient.
Measure what matters (and connect emails to orders)
If you only look at open rates, you’ll miss the point. Track clicks, conversions, unsubscribe and complaint rates, and revenue per recipient (RPR). For directional context, industry snapshots like the Mailchimp email marketing benchmarks (2024 update) can help you sanity‑check performance, but your own data matters most.
Simple setup for reliable attribution
- Tag links with UTMs in your ESP. A common convention is:
- utm_source = your ESP (e.g., klaviyo)
- utm_medium = email
- utm_campaign = the campaign or flow name
- utm_content = button or creative variant (optional)
- Connect Google Analytics 4 to Shopify so UTM traffic appears in Acquisition and conversions reports.
- QA before sending: click every link, confirm UTMs stick on the landing page and through checkout.
A practical workflow example (Shopify + Klaviyo)
- Enable automatic UTM tagging in your ESP and standardize names across campaigns and flows.
- In Shopify, verify that GA4 is connected and receiving UTM parameters.
- When you need deeper, multi‑touch reporting that connects email clicks to orders alongside paid, organic, and social, consider a Shopify‑compatible attribution platform that integrates with Klaviyo and supports server‑side tracking, such as Attribuly. Disclosure: Attribuly is our product.
- If you want a step‑by‑step setup path, see the Attribuly help doc: Getting started with Attribuly.
Tooling compatibility note
- If you’re validating stack fit, review Shopify/Klaviyo compatibility on the Attribuly site: Attribuly’s Shopify integration overview.
What good measurement looks like each week
- Review CTR, conversions, RPR, unsubscribes, and spam complaints.
- Compare flows vs. campaigns: flows usually drive steadier revenue; campaigns can spike.
- Run small tests on subject lines, send times, and hero offers—change one thing at a time.
Common beginner pitfalls (and easy fixes)
- Sending from a free email domain (e.g., @gmail.com). Fix: Use your brand domain with SPF/DKIM/DMARC set up.
- Hiding or burying the unsubscribe link. Fix: Make it visible; also support one‑click unsub headers.
- Over‑reliance on open rates. Fix: Optimize for clicks and conversions; use RPR as a north star.
- Skipping post‑purchase and replenishment flows. Fix: Build these early for consumables.
- Aggressive popups with poor value. Fix: Offer real value, cap frequency, and ensure mobile usability.
Your simple starter checklist
Before you send
- Set up SPF, DKIM, and DMARC on your sending domain.
- Ensure you have a visible unsubscribe and a physical mailing address in the footer.
- Turn on one‑click unsubscribe and test it.
- Create these flows in order: Welcome → Abandoned Checkout → Post‑purchase → Replenishment → Re‑engagement.
- Standardize UTMs; connect GA4; QA links and tracking end‑to‑end.
- Start by sending to engaged segments; monitor bounces and complaint rates.
In your first 30 days
- Send one helpful campaign per week: education, recipes, or a best‑sellers highlight.
- Review weekly: CTR, conversions, RPR, unsubscribes, spam complaints.
- Tune replenishment timing using real order gaps.
What to send (content prompts for food brands)
- Education: storage, serving, brewing guides, pairings, ingredient sourcing.
- Product guidance: “How to choose the right roast,” “Snack pairings for game day.”
- Community: farmer or maker stories, behind‑the‑scenes production.
- Seasonal: limited harvest drops, holiday tasting boxes, summer shipping tips.
- Offers: restrained, thoughtful promotions tied to clear value.
Next steps
- Start with one platform (Shopify Email or Klaviyo), authenticate your domain, and build the Welcome and Abandoned Checkout flows this week.
- If, after a few sends, you want clearer reporting that connects email to orders alongside your ads and organic channels, consider trying an attribution tool compatible with Shopify and Klaviyo, such as Attribuly, to centralize multi‑touch insights and server‑side tracking. Keep it simple: one improvement at a time.
References and further reading
- Bulk sender rules and authentication: Google’s Gmail protections update (2024); Yahoo Sender Best Practices (2024)
- Legal essentials: FTC CAN‑SPAM compliance guide; EU GDPR portal
- Measurement reality check: Mailchimp email marketing benchmarks (2024 update)
- Privacy and opens: Apple Mail Privacy Protection
- List growth ideas: Shopify build an email list guide (2025)