How To Use Klaviyo Popups to Grow Fashion Store Email Lists
If you run a fashion Shopify store, a well-tuned Klaviyo popup (sign-up form) can become your fastest, most reliable email list growth engine. In about 60–90 minutes, you’ll set up a mobile-friendly, compliant popup that captures new subscribers without wrecking the shopping experience. Give it 7–14 days to collect data, then iterate with A/B tests.
What you’ll do:
- Enable Klaviyo’s onsite features in Shopify
- Build and connect a popup to the right Klaviyo list
- Configure targeting and behavior for fashion shopping journeys
- Design for mobile-first UX and accessibility
- Publish, QA, measure, and optimize with A/B tests (and optional AI)
Prerequisites:
- Active Klaviyo account connected to Shopify
- A target list in Klaviyo (confirm double opt-in setting)
- Your store’s privacy policy URL
- About 60–90 minutes for setup, plus 30–45 minutes for QA
Step 1) Enable Klaviyo’s onsite features in Shopify (Required)
Klaviyo forms won’t render until the onsite script is enabled via the Shopify app embed.
Do this:
- In Klaviyo, go to Integrations > Shopify and look for the Onsite Tracking status. If it’s off, follow the prompt to your theme.
- In Shopify admin: Online Store > Themes > Customize > Theme Settings > App embeds. Toggle on the Klaviyo app embed and Save.
- Back in Klaviyo’s Shopify integration page, confirm you see the green/active status banner.
Why this matters: The app embed injects the Klaviyo script that powers forms and behavioral events. Klaviyo explains the app-embed requirement in their Shopify integration guidance; enabling it ensures onsite features work as intended according to the official steps in the Klaviyo Help Center’s guide to adding their embed to Shopify.
Verification:
- Visit your storefront in a fresh browser session and confirm that any “Live” Klaviyo form displays when targeted.
- If you use an ad blocker, temporarily disable it for QA.
Helpful references:
- Klaviyo’s instructions on enabling the app embed for Shopify provide the exact steps and indicators under the relevant Help Center article on adding an embed form to Shopify (Klaviyo, 2024).
Step 2) Create your popup and connect it to the correct list
In Klaviyo: Sign-up Forms > Create form > Popup.
Do this:
- Name your form clearly (e.g., Popup_Welcome10_V1_2025-10-16).
- Destination list: choose your primary “Newsletter” or “Welcome” list.
- Add blocks: headline, subhead, email input, submit button, optional image. Keep fields minimal at launch (email only). You can collect SMS later with a dedicated flow.
- Consent: enable data protection fields and add a short consent line with a link to your privacy policy. Klaviyo’s Getting started and data privacy materials detail how to add these fields.
Checkpoints:
- Confirm the form is attached to the right list.
- Check your list’s double opt-in setting (on by default for new lists). You can adjust this per your region and policy.
Helpful references:
- Klaviyo’s “Getting started with sign-up forms” shows the end-to-end creation flow and where to attach a list.
- For double opt-in mechanics and customization, Klaviyo’s “Understanding the double opt-in process” explains defaults and options.
Step 3) Targeting and behavior that fit fashion shopping journeys
Great popups feel “polite.” Configure behavior so new visitors can browse, then see an offer at a natural moment.
Recommended starting defaults (adjust later via A/B tests):
- Timing: show after 5–7 seconds on desktop; on mobile, consider 2–3 seconds after scroll or use a flyout instead of a full-screen modal.
- Exit intent: create a variant for desktop that triggers on exit intent (good for hesitant shoppers).
- Device targeting: separate mobile and desktop experiences if design differs.
- Frequency: show once every 1–3 days per visitor; don’t show again after submission.
- Suppression: hide from known profiles and recent submitters to avoid redundancy.
- URL rules: include product and collection pages; exclude /cart and (optionally) /checkout to prevent disruption at high-intent steps.
- Schedule: if you run seasonal drops or BFCM, schedule promotional variants by date.
- Teaser: enable a small teaser before the popup or after dismiss to give shoppers a second chance.
Why these controls matter: Klaviyo’s Targeting & behavior model supports timing (delay, scroll depth, exit intent), device, frequency capping, visitor status, URL include/exclude, schedules, and teasers. The official Help Center explains these options and their limits, such as how suppression relies on Klaviyo cookies and why private browsing can affect recognition.
Verification:
- Use Klaviyo’s Preview (with URL) and then test live on actual product and collection pages.
- Confirm the popup does not appear on /cart and during checkout.
Helpful reference:
- See Klaviyo’s detailed explanations of targeting and behavior controls in their “Understanding targeting & behavior settings for sign-up forms.”
Step 4) Design for mobile UX and accessibility
Most fashion traffic is mobile. Make the popup easy to read and dismiss.
Do this:
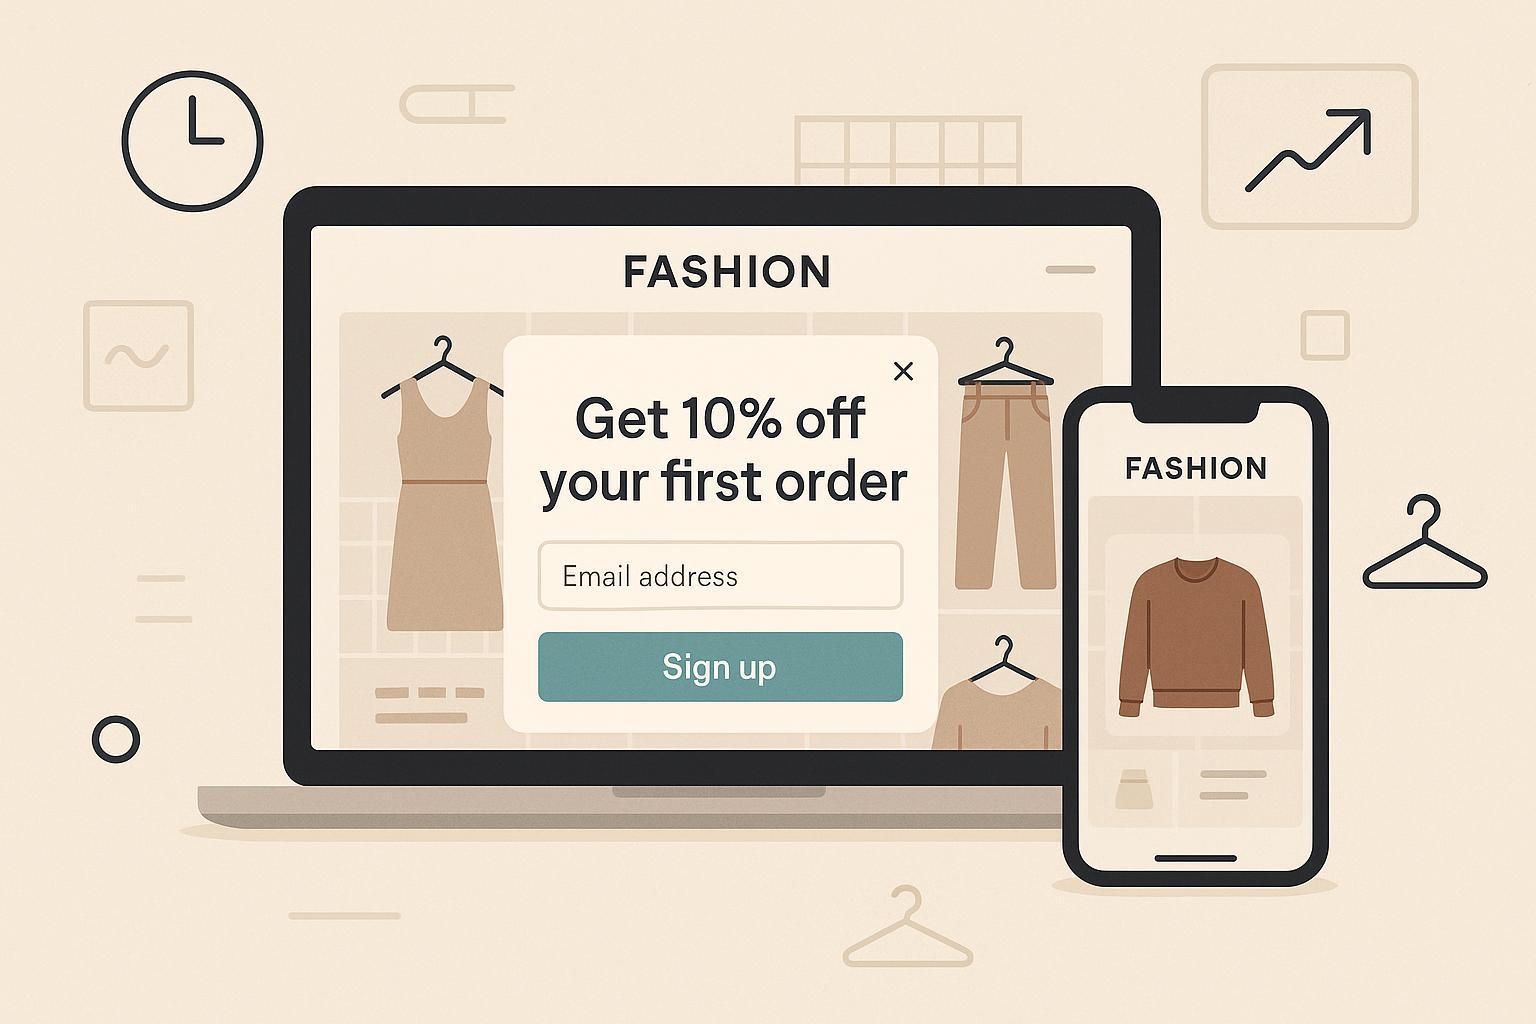
- Keep copy concise; lead with value (“Get 10% off your first order” or “Early access to drops”).
- Use high-contrast colors and large tap targets; ensure the close button is obvious.
- Prefer a slide-in/flyout or a delayed popup on mobile over an instant full-screen overlay from search.
- Offer a teaser so shoppers can bring the form back after closing.
Why it matters: Google’s page experience documentation cautions against intrusive interstitials on mobile that block content immediately after a user comes from search. The guidance clarifies acceptable patterns and why a delayed, dismissible approach is safer for SEO.
Helpful reference:
- Google Search Central’s page experience guidance on the “intrusive interstitials” section outlines what to avoid on mobile.
Step 5) Advanced targeting (optional, but powerful for fashion)
A) Open on a button click (custom trigger)
- Use this for “Join waitlist” or “Get size guide + 10%” buttons.
In the form editor:
- Timing > Only show on custom trigger.
- Find your form’s ID in the editor URL (a short alphanumeric token).
Add a trigger element and script in your theme:
<!-- In your theme where you want the trigger button -->
<button class="klaviyo_form_trigger">Join and get 10%</button>

<script>
  window._klOnsite = window._klOnsite || [];
  document.querySelector('.klaviyo_form_trigger')?.addEventListener('click', function(){
    // Replace FORM_ID with your form's ID from the editor URL
    window._klOnsite.push(["openForm", "FORM_ID"]);
  });
</script>
Klaviyo’s “custom trigger for button click” article shows the exact event and ID format.
B) Target by cart contents or value
- Show a different offer for high-AOV carts (e.g., free expedited shipping), or show a size-guide flyout only when the cart includes dresses.
- In Targeting > cart-based rules: choose by total cart value, item count, or product attributes (brand, product type, price, productID).
Klaviyo’s Help Center explains how to target forms by cart contents when Shopify data is available and integrated.
C) UTM-aware campaigns
- During drops or influencer collaborations, restrict forms to landing pages that contain a specific UTM. Use URL rules (e.g., includes utm_campaign=dress-drop) to keep the experience aligned with the ad creative.
Verification:
- Add test products to cart and confirm the targeted popup behavior updates accordingly.
- Use real devices for button-trigger QA to ensure the script runs without conflicts.
Step 6) Publish and QA checklist
When you’re confident in your targeting and design, set the form Live (Sign-up Forms > find your form > toggle Live) and run this QA:
Functional QA:
- Confirm Live status in Klaviyo and verify the scheduled window.
- Visit the exact URLs included in your rules and confirm display behavior.
- Submit a test email and verify it reaches the intended list.
- Confirm your Welcome Flow triggers immediately after submission.
Experience QA:
- Test on iOS Safari and Android Chrome.
- Check mobile layout, color contrast, and close button size.
- Close the popup and verify the teaser appears (if enabled) and can re-open the form.
Conflict QA:
- Check for other theme/app popups. If they collide, stagger timing or use frequency caps.
- If your cart is a slide-in modal (no /cart URL), consider hiding popups when the cart is open via a small script.
Reference for publish and manage status:
- Klaviyo’s “Manage sign-up forms” article covers Live vs. Draft and where to edit and publish settings in the UI.
Step 7) Measure results and understand analytics updates
Klaviyo’s form analytics report shows Views, Submits, and Submit rate. As of April 1, 2025, Klaviyo improved bot/crawler filtering, which may reduce “Viewed form” counts and increase Submit rate due to a more accurate denominator. This shift is documented in Klaviyo’s analytics update note; compare performance using post-update data for apples-to-apples insights.
Practical tips:
- Review weekly for the first 2–4 weeks.
- Version your form names per test (e.g., Popup_Welcome10_V2_2025-10-16) and note what changed.
- Track device-level differences; mobile objectives may differ from desktop.
Attribution note:
- If you use a marketing attribution platform alongside Klaviyo to tie signups and downstream revenue back to channels, consider integrating it into your review workflow. Attribuly can help attribute revenue influenced by email signups and campaigns across your stack. Disclosure: Attribuly is our product.
Helpful references:
- Klaviyo’s “Understanding sign-up form analytics” explains form metrics and the April 2025 bot/crawler filtering update.
Step 8) Optimize: A/B tests and Klaviyo’s AI display optimization
What to test first:
- Headline promise and offer (10% vs $10 off; discount vs “early access to drops”)
- Creative: lifestyle vs product detail imagery, or no image
- Timing: 5s delay vs exit intent; add/remove teaser
- Field count: email only vs email + first name (start lean)
How to run it:
- Use Klaviyo’s built-in A/B testing for forms. Limit to 2–4 variants and define winner criteria (e.g., Submit rate after at least 1,000 views). Their Help Center guide walks through creating and evaluating tests.
AI assist:
- Klaviyo also offers “forms display optimization” that uses experimentation to pick winning display timing automatically and roll it out live. Their product blog describes how the optimization behaves and what kinds of improvements to expect, so you can decide when to enable it.
Helpful references:
- Klaviyo Help Center on “How to A/B test a sign-up form.”
- Klaviyo Blog on “forms display optimization.”
Compliance quick-guide (non-legal)
- Consent language: Use clear language stating what subscribers will receive and link to your privacy policy. In Klaviyo, enable data protection fields to add consent checkboxes and text as needed.
- Double opt-in: Recommended or required in many regions (e.g., EU/CAN). New Klaviyo lists default to double opt-in; configure and customize the confirmation email in Lists & Segments.
- Record-keeping: Retain consent records (when/where/how) in case of audits.
- SMS: If you add SMS later, follow TCPA/CTIA requirements separately with explicit consent language.
Helpful references:
- Klaviyo’s guidance on complying with data privacy laws outlines how to enable data protection fields and consent language inside forms.
- Klaviyo’s overview of the double opt-in process explains defaults and customization options.
Troubleshooting: if X happens, try Y
Popup doesn’t show at all
- Check Live status and schedule window.
- Verify Klaviyo app embed is enabled in Shopify and shows active in Klaviyo.
- Inspect targeting conflicts: URL rules, device targeting, visitor suppression.
- If using custom trigger, ensure “Only show on custom trigger” is set and the form ID matches your script.
- Test in a fresh browser/device; ad blockers or privacy modes can suppress scripts.
Duplicate or overlapping popups
- Audit theme/app popups (loyalty, reviews, privacy banners). Stagger timing, reduce frequency, or suppress known profiles.
- Exclude /cart and checkout; consider a short delay to let other overlays render first.
Low submit rate (<3–5% after a few thousand views)
- Reduce fields to email only.
- Clarify the promise; test a stronger incentive or a non-discount value (early access, styling guides, size help).
- Adjust timing: shorten delay on desktop; try exit intent as a second variant.
- Use a teaser so shoppers can re-open the form.
- Improve mobile UX (bigger close button, higher contrast, shorter copy).
Double opt-in drop-offs
- Simplify the confirmation email design and copy; put the confirmation CTA upfront.
- Send a gentle reminder to unconfirmed profiles after 24–48 hours.
- Evaluate whether DOI is optional for your region and brand policy.
Analytics look “off”
- Expect fewer Views and a higher Submit rate after April 1, 2025 due to bot filtering. Compare periods after that change for fair trends.
Fashion-specific ideas that usually work
- Tailor the promise: “10% off your first dress,” “Free shipping on your first denim order,” or “Early access to new arrivals.”
- Seasonal variants: Launch a BFCM-specific popup with a countdown or early-access angle, then retire it after the event.
- Category-aware flyouts: Show a size guide flyout on dress pages while keeping the general discount popup for other categories.
- Creative that matches the page: If the visitor is on a product page, use imagery of that category for continuity.
Where to go next
- Add a dedicated SMS opt-in flow later, using a separate popup or a second step after email (be mindful of consent).
- Layer in UTM-based targeting for influencer and drop campaigns.
- Schedule a monthly review to retire underperforming variants and promote winners.
Citations and further reading
- Klaviyo Help Center — Understanding targeting and behavior settings for sign-up forms (explains timing, frequency, suppression, teasers, and URL rules, 2024): Targeting & behavior settings
- Klaviyo Help Center — Getting started with sign-up forms (step-by-step creation and list connection, 2024): Getting started with sign-up forms
- Klaviyo Help Center — Manage sign-up forms (publish, Live vs Draft, 2024): Manage sign-up forms
- Klaviyo Help Center — Custom trigger to open a form on click (code pattern and form ID, 2024): Custom trigger for button click
- Klaviyo Help Center — Target forms by cart contents/value (Shopify cart-based rules, 2024): Target by cart contents
- Klaviyo Help Center — Understanding sign-up form analytics (bot/crawler filtering update effective April 1, 2025): Sign-up form analytics
- Klaviyo Blog — Forms display optimization (how AI sets winning display timing, 2024): Forms display optimization
- Google Search Central — Page experience, intrusive interstitials guidance (what to avoid on mobile, 2024): Page experience: intrusive interstitials