How to Track ROI of Email Marketing in Shopify Food Businesses
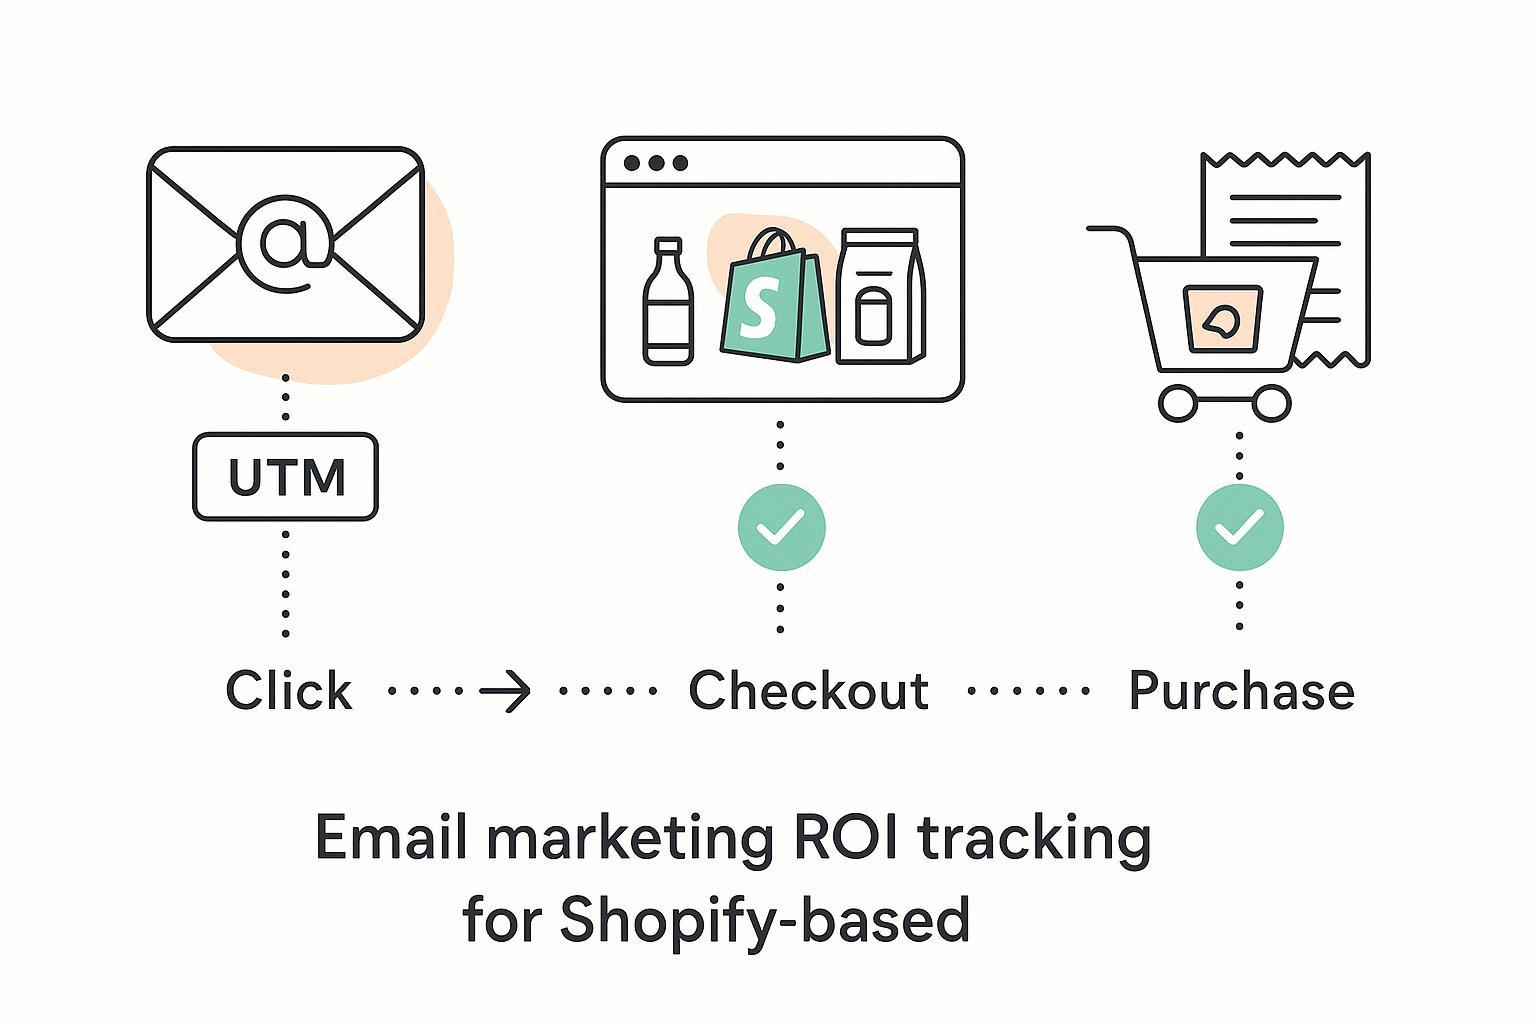
If you run a Shopify food or beverage brand, email should be one of your highest-ROI channels—but only if you can trust the numbers. This guide shows you, step by step, how to capture clean UTMs, persist them into Shopify orders, see a multi-touch view of what email actually influences, and reconcile results with the rest of your stack.
What you’ll accomplish
- Set a reliable ROI formula and KPI set for email (no more over-weighting opens)
- Standardize UTMs in your ESP and persist them into Shopify orders
- Enable web pixel and optional server-side tracking for stronger attribution
- Model email credit for one-off purchases, replenishment, and subscriptions
- Reconcile data across Shopify, your ESP, GA4, and an attribution platform
Before you start
- Difficulty: Intermediate
- Time: 60–120 minutes for initial setup; 5–15 minutes/week for QA
- You need: Shopify admin access (Settings > Customer events), ESP admin (Klaviyo or Shopify Email), access to your analytics/attribution tool, and GA4 (optional but recommended)
Why this method works
- Apple Mail Privacy Protection inflates opens by preloading images via proxy, so relying on opens distorts ROI. Prioritize clicks, conversions, and revenue. See the explanation in Twilio’s Apple Mail Privacy Protection overview (2021) and Mailchimp’s MPP help note (2022): Twilio — Apple Mail Privacy Protection, Mailchimp — About Apple MPP.
1) Define ROI and the KPIs that matter
Use a simple, defensible formula and stick to it across reports.
-
ROI formula
ROI = (Attributed Email Revenue – Total Email Costs) / Total Email Costs -
Count these costs: ESP fees (including SMS/email credits), creative/production, tools/integrations, engineering/help, and optionally coupon/discount costs. If personnel time is material, include it for a truer picture.
-
Example
- Revenue attributed to a campaign: $10,000
- Costs: ESP $500 + Creative $1,000 + Discounts $1,200 + Tools $300 = $3,000
- ROI = ($10,000 – $3,000) / $3,000 = 233%
-
KPIs to track weekly
- Revenue per recipient (RPR/RPE)
- Click-through rate (CTR)
- Placed order rate (from recipients)
- Conversion rate from click
- Revenue per subscriber (RPS)
- Unsubscribe rate
Tip: Treat open rate as directional only, given MPP. Klaviyo’s industry benchmarks (2024 dataset) provide helpful context on clicks and conversions by industry: Klaviyo — Email benchmarks by industry (2024).
2) Standardize UTMs in your ESP (critical)
Every link in your emails needs consistent UTMs so purchases can be attributed back to the right campaign/flow.
-
Recommended UTM taxonomy
- utm_source=klaviyo (or your ESP)
- utm_medium=email
- utm_campaign=clear-campaign-or-flow-name (lowercase, hyphens/underscores)
- utm_content=button-or-variant (optional, for A/B links)
-
Apply UTMs to all clickable elements (buttons, hero images, text links). Avoid adding UTMs to internal links within your site to preserve the original source.
-
Helpful primer: Shopify’s overview on UTM parameters is a good reference for conventions and reporting entry points: Shopify — UTM parameters guide.
Verify before moving on
- Send yourself a test email from your ESP.
- Click each link. Confirm the landing URL contains your full UTM set.
- Navigate to multiple product pages and the cart; ensure UTMs persist (no app overwriting them).
Common pitfalls
- Link shorteners or redirect chains can strip UTMs—prefer branded short links only if you’ve validated that UTMs survive.
- Some apps append parameters that overwrite UTMs; lock your parameter order and test after installing new apps.
3) Persist UTMs into Shopify orders (critical)
Relying only on browser cookies can fail with blockers. Persisting UTMs or click IDs into the order record gives you a durable source-of-truth for reconciliation and modeling.
Approach
- Capture UTMs on landing (cookie/localStorage) via a custom Web Pixel or a lightweight script.
- Pass those values along to checkout and store them in order attributes/notes or dedicated attribution fields.
- Validate with a test order.
A practical walkthrough of the order-notes pattern is documented by Analyzify and is widely used by Shopify practitioners: Analyzify — Pass UTM parameters to Shopify orders.
Verify before moving on
- Place a test order after clicking a UTM-tagged email link.
- In Shopify Admin, open the order and check order attributes/notes for UTM fields.
- Export the order CSV if needed; confirm the fields are present for reporting.
Pro tip
- If you use subscriptions (Recharge/Skio), storing the original acquisition UTMs and subsequent re-engagement UTMs helps you classify renewals as “direct” (click-through) or “influenced” by email touches.
4) Enable Shopify Web Pixels and (optionally) server-side tracking
Shopify Web Pixels (Settings > Customer events) let you subscribe to key events like page_viewed, checkout_started, and checkout_completed. You can forward these to analytics/attribution tools for more complete journeys.
- Learn more: Shopify Dev — Web Pixels overview and Web Pixels API standard events.
Optional but recommended: server-side reinforcement
- Post purchase events from your server (or via server-side GTM) to platforms like GA4 and ad networks, improving resilience against blockers.
- Combine client-side context (UTMs, session) with server-side confirmation for robust attribution.
Verify before moving on
- In Shopify Admin > Settings > Customer events, open your pixel and use the preview/debug mode to ensure events are firing on key pages.
- Place a test order and confirm a checkout_completed/purchase event appears promptly in your analytics/attribution tool.
5) Example: Configure your attribution platform for email credit (mid-journey)
On the first mention: Attribuly. Disclosure: Attribuly is our product.
Here’s a neutral, replicable way to connect your email tracking to an attribution view using Attribuly:
- Install the app from Shopify and complete the quick start to send web pixel events and purchases into your workspace. Follow the step-by-step in Attribuly Help — Getting Started.
- Ensure your ESP links include utm_source, utm_medium=email, and utm_campaign. Attribuly picks these up from landing pages and ties them to purchase events.
- Send a test email, click through, and place a low-value test order. In your dashboard, you should see the journey (email click → browse → add to cart → purchase) attributed to your campaign. For context on what’s tracked with Shopify, see the Attribuly — Shopify Integration overview.
Verification checklist
- The email campaign name in your ESP matches utm_campaign.
- The purchase appears in your attribution timeline within minutes.
- Revenue per recipient and placed order rate compute as expected for this test.
Compliance note
- Only track opted-in subscribers and respect suppression lists. Review data handling and consent in the Attribuly — Privacy Policy.
6) Choose attribution windows and modeling rules
Defaults matter. Many ESP and platform dashboards use last-click or “last non-direct click,” which can over-credit bottom-funnel touches.
- Klaviyo defaults: Klaviyo credits revenue to the last opened or clicked message within configurable lookback windows (commonly 5 days for clicks). Bot filtering and MPP handling are available. See details in the official help article: Klaviyo — Understanding message attribution (documentation current through 2024).
- Shopify analytics: In practice, many Shopify views approximate last-click/session-based attribution. Confirm model selection in your reports and avoid mixing models across tools when reconciling.
Best-practice for food & beverage
- Flows vs campaigns: Consider a longer lookback for replenishment flows (e.g., 14–45 days) and a shorter window for one-off campaigns. Document your choices and keep them consistent.
- Deduplication: When email and paid social both claim a sale, choose a source-of-truth model (e.g., multi-touch or channel priority) and apply it consistently.
- Discounts: Decide whether to treat discounts as a cost line or reflect them via net revenue. Be consistent across reports so ROI comparisons remain fair.
7) Food & beverage specifics: subscriptions, replenishment, and POS/local pickup
Subscriptions
- Classify renewals:
- Direct: Renewal happens after a recent email click in your defined window.
- Influenced: Renewal happens without a fresh click but with an email touch within your influence window.
- Implementation notes:
- Skio exposes renewal-related webhook events that can be tied to recent email engagement to classify renewals; see the docs: Skio — Webhooks.
- Recharge also provides webhook resources to identify recurring charges/orders for similar classification: Recharge — Webhooks resources.
Replenishment cadence
- Many food brands re-order on 14/30/45-day cycles. Match your flow timing and attribution window to typical consumption, and avoid over-crediting one message in a long sequence.
POS/local pickup attribution via discount codes
- Create a unique discount code per email campaign and instruct staff to apply it in-store.
- Reporting: In Shopify Admin, use Analytics > Reports > Sales by discount to tally POS and online redemptions for that code during your campaign period.
8) Reconcile across Shopify, ESP, GA4, and your attribution platform
Make reconciliation a habit so you trust your ROI.
Workflow
- Align time zones and date ranges everywhere.
- Use Shopify orders as your financial source of truth. Decide on gross vs net (refunds, shipping, taxes) for consistency.
- Compare ESP-attributed revenue using the same attribution windows you configured (e.g., Klaviyo’s 5-day click window).
- Compare GA4 purchase revenue by transaction ID and time; ensure your purchase event fires on the thank-you page and, ideally, server-side too.
- Compare your attribution platform’s view (single- or multi-touch). Expect differences due to model choices.
What variance is normal?
- In practice, a 5–10% difference between systems after proper setup is common due to blockers, timing, and model differences. Practitioner write-ups explain why mismatches persist even in healthy setups: see Elevar — Why your data doesn’t match across Shopify, Meta, GA4 and Analyzify — GA4 vs Shopify revenue mismatch.
Incrementality checks (optional, recommended)
- Holdout tests: Randomly suppress 5–20% of a segment for a campaign or flow and compare lift vs the mailed group. Keep groups stable for longer-running flows and evaluate over a defined window.
9) Troubleshooting playbook: what can go wrong (and how to fix it)
-
Inflated opens from Apple MPP
- Fix: Don’t use opens for ROI decisions; prioritize click and revenue. See Twilio and Mailchimp references above. Omeda’s analysis (2022) also shows material open inflation in observed datasets: Omeda — Impact of Apple’s Mail Privacy Protection.
-
UTM loss (stripped or overwritten)
- Symptoms: Landing URLs missing UTMs after redirects; appending app params overwrite your UTMs.
- Fix: Minimize redirects, avoid unreliable shorteners, and test after adding new apps.
-
Internal link UTMs
- Pitfall: Tagging internal links with UTMs resets the original source.
- Fix: Only tag inbound links from email; keep internal navigation clean.
-
Cross-domain or app handoff
- Pitfall: Checkout apps or cross-domain flows drop UTMs.
- Fix: Persist UTMs in cookies and pass to order attributes; confirm your pixel captures checkout_started and checkout_completed.
-
Subscription renewals not tied to a click
- Pitfall: Renewals fire with no fresh click and get missed by last-click reports.
- Fix: Classify such revenue as influenced when an email touch occurred within your influence window.
-
Double-counting discounts
- Pitfall: Counting a coupon both as cost and as revenue driver can distort ROI.
- Fix: Choose a policy (discounts as cost or netted in revenue) and apply it consistently.
-
Channel deduplication
- Pitfall: Email and paid social both claim the same order.
- Fix: Document your source-of-truth model and window priority; apply consistently.
10) Operational cadence and QA checklist
Weekly
- Review email KPIs: RPR, CTR, placed order rate, conversions from click, RPS, unsubscribes.
- Scan a sample of orders to ensure UTM fields still populate.
- Reconcile channel totals vs Shopify; note any variance spikes.
Monthly/Quarterly
- Run a holdout test on a major campaign or a key flow.
- Audit redirect chains and link shorteners.
- Review attribution windows for flows vs campaigns; adjust if consumption patterns shift.
Final QA checklist (before you call the setup done)
- I can click a test email, place a test order, and see UTMs stored in the Shopify order.
- My attribution tool shows the journey (email click → purchase) and credits revenue to the correct campaign.
- My ESP’s attributed revenue window aligns with what I expect (e.g., 5-day click).
- Cross-tool reconciliation is within ~5–10% for a sample day.
Next steps
- Clean up your UTM taxonomy and document it for the team.
- Add server-side purchase confirmation if you haven’t yet.
- Pilot a replenishment flow with a window that mirrors your product’s typical consumption.
- If you want a multi-touch view tailored to Shopify and lifecycle marketing, consider setting up the workflow described above with Attribuly to keep your email ROI grounded in verified orders and journeys.
External sources cited in-line above include Twilio’s Apple MPP overview (2021), Mailchimp’s MPP guide (2022), Klaviyo’s attribution help (current through 2024), Shopify’s UTM guide, Analyzify’s UTM-to-order pattern, Elevar’s reconciliation guidance, Omeda’s MPP impact analysis (2022), Skio and Recharge webhook documentation, and Shopify’s Web Pixels developer docs.